As an Office Manager, you can choose to send a new welcome email to an individual user or bulk send welcome emails to multiple users.
Send a new welcome email to an individual
You must be an Office Manager to send welcome emails.
- Navigate to the Manage Organization view of the Sonar portal.

- Click the Users tab.

- Search the user by name or extension number.
- Navigate to the Advanced settings subtab for the user by either:
- clicking the pencil icon next to the user's name, and then selecting Advanced from the drop-down menu, or,
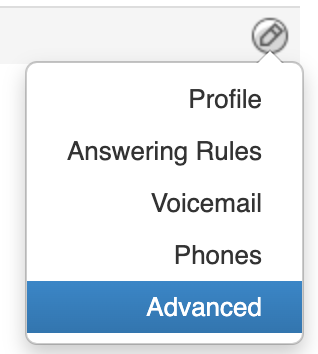
- clicking on the user's name, and then selecting the Advanced subtab.
- clicking the pencil icon next to the user's name, and then selecting Advanced from the drop-down menu, or,
- Under the "User Setup" section, click Send Welcome Email.
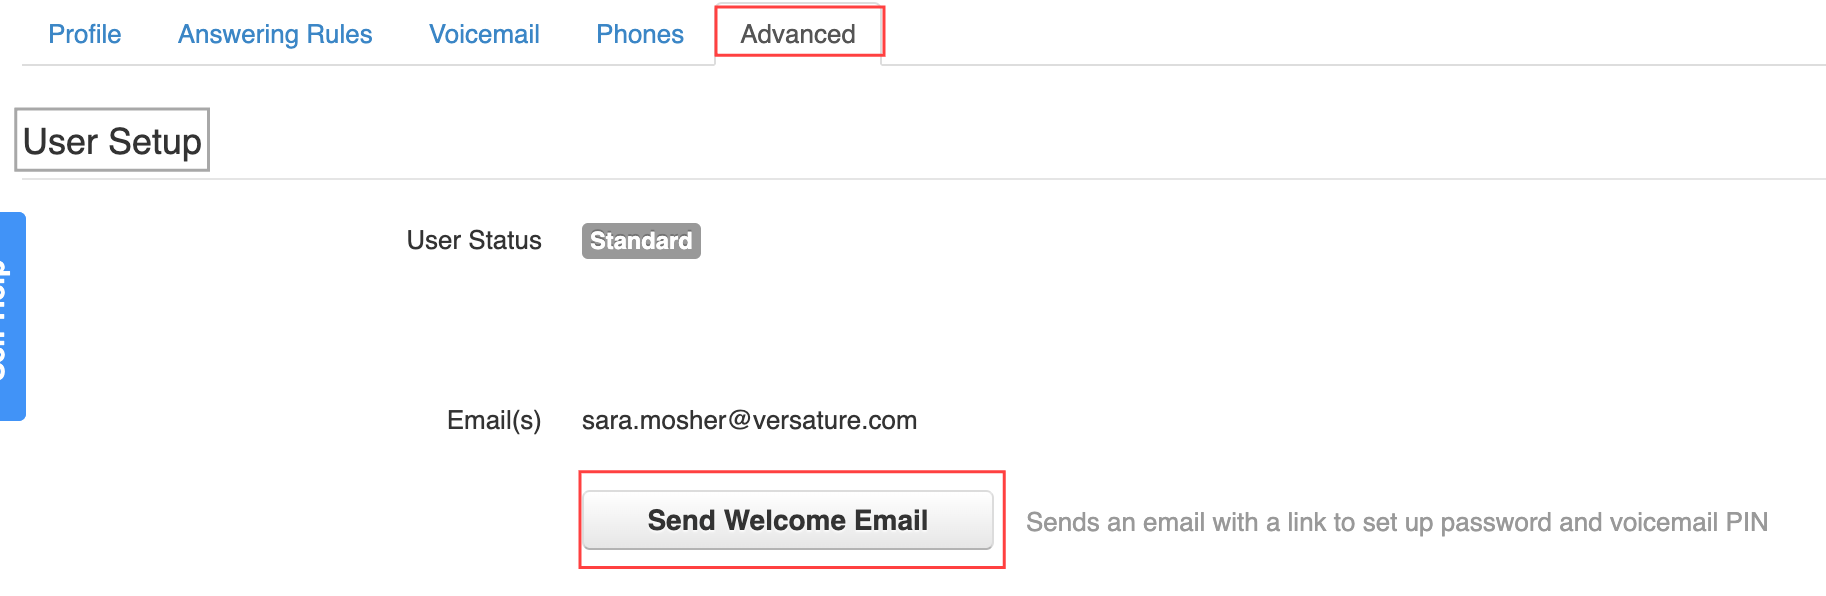
Receipts will have 24 hours to complete the setup before the link expires.

Bulk Send Welcome Emails to Multiple Users
You must be an Office Manager to send welcome emails.
- Follow steps 1 and 2 above to navigate to the Users tab.
- Within the user list, click the checkmark box next to the names of the new welcome email users.
Note: you can select all users by clicking the checkmark next to "Name" at the top of the list. - When you're finished selecting users, click the Bulk Action in the top right corner.
- Click the radio button next to Send Welcome Email.
- Click Complete Action. to finalize the process.
Receipts will have 24 hours to complete the setup before the link expires.
