If you're taking some time off work it's a good idea to let your clients know you'll be gone or have your calls forwarded to a different extension. Whether you're going to be out of the office (OOO) for 1 day or an extended period of time, it's good practice to keep as many people in the loop as you can.
Need more detailed instructions?
Check out the Time Frames Overview to learn more about how time frames work.
If you want to learn more about how each Answering Rule works, check out the Answering Rules Overview.
Check out our dedicated article for full instructions on how to create a new voicemail greeting.
Create an Out-of-Office Time Frame
Office managers and call center supervisors must be in My Account to access their Time Frames, Answering Rule, and Messages tabs.
- Navigate to the Time Frame tab of your Sonar portal.
- Click the name of the time frame you want to edit or click Add Time Frame on the right side.
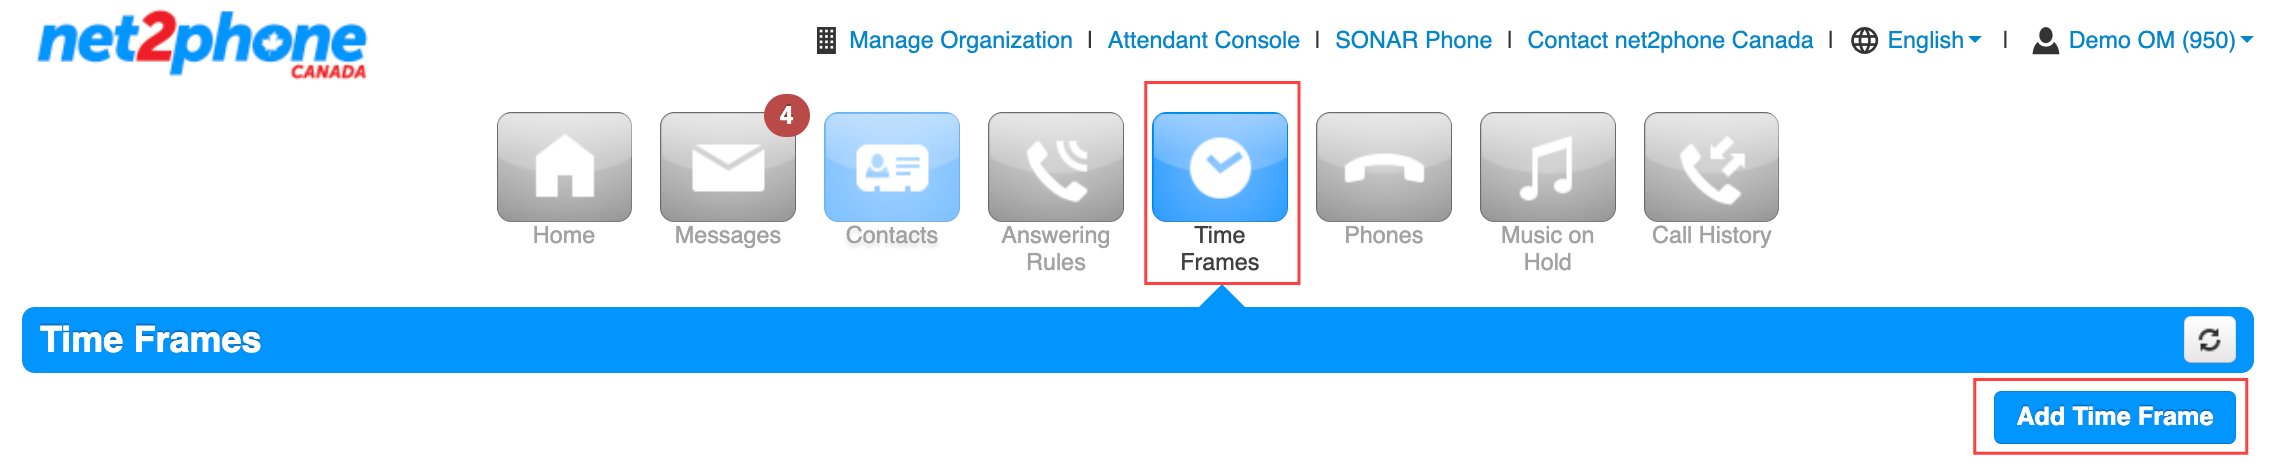
- Select one of the three types of time frames:
- Always
- Days of the week and Times
- Specific dates or ranges
We recommend using specific dates and ranges for an OOO time frame; that way, you only have to set it once, and it will automatically time out, whereas always, the days of the week and times must be changed manually.
The Default Time Frame
Specific dates and ranges will automatically adjust your default time frame around the range you set. If you reopen it and notice there are more "ranges," don't worry, it is the system's way of ensuring your time frame works with your default the way it was intended.
The default time frame is used whenever you don't have a specific time frame set. For example, if your work-week time frame is set from 9:00 a.m. to 5:00 p.m., Monday to Friday, the default time frame will be active outside of those hours—meaning from 5:01 p.m. to 8:59 a.m. on weekdays and all day on weekends. When creating answering rules, keep in mind that if no time frame is set, the default message will be played.

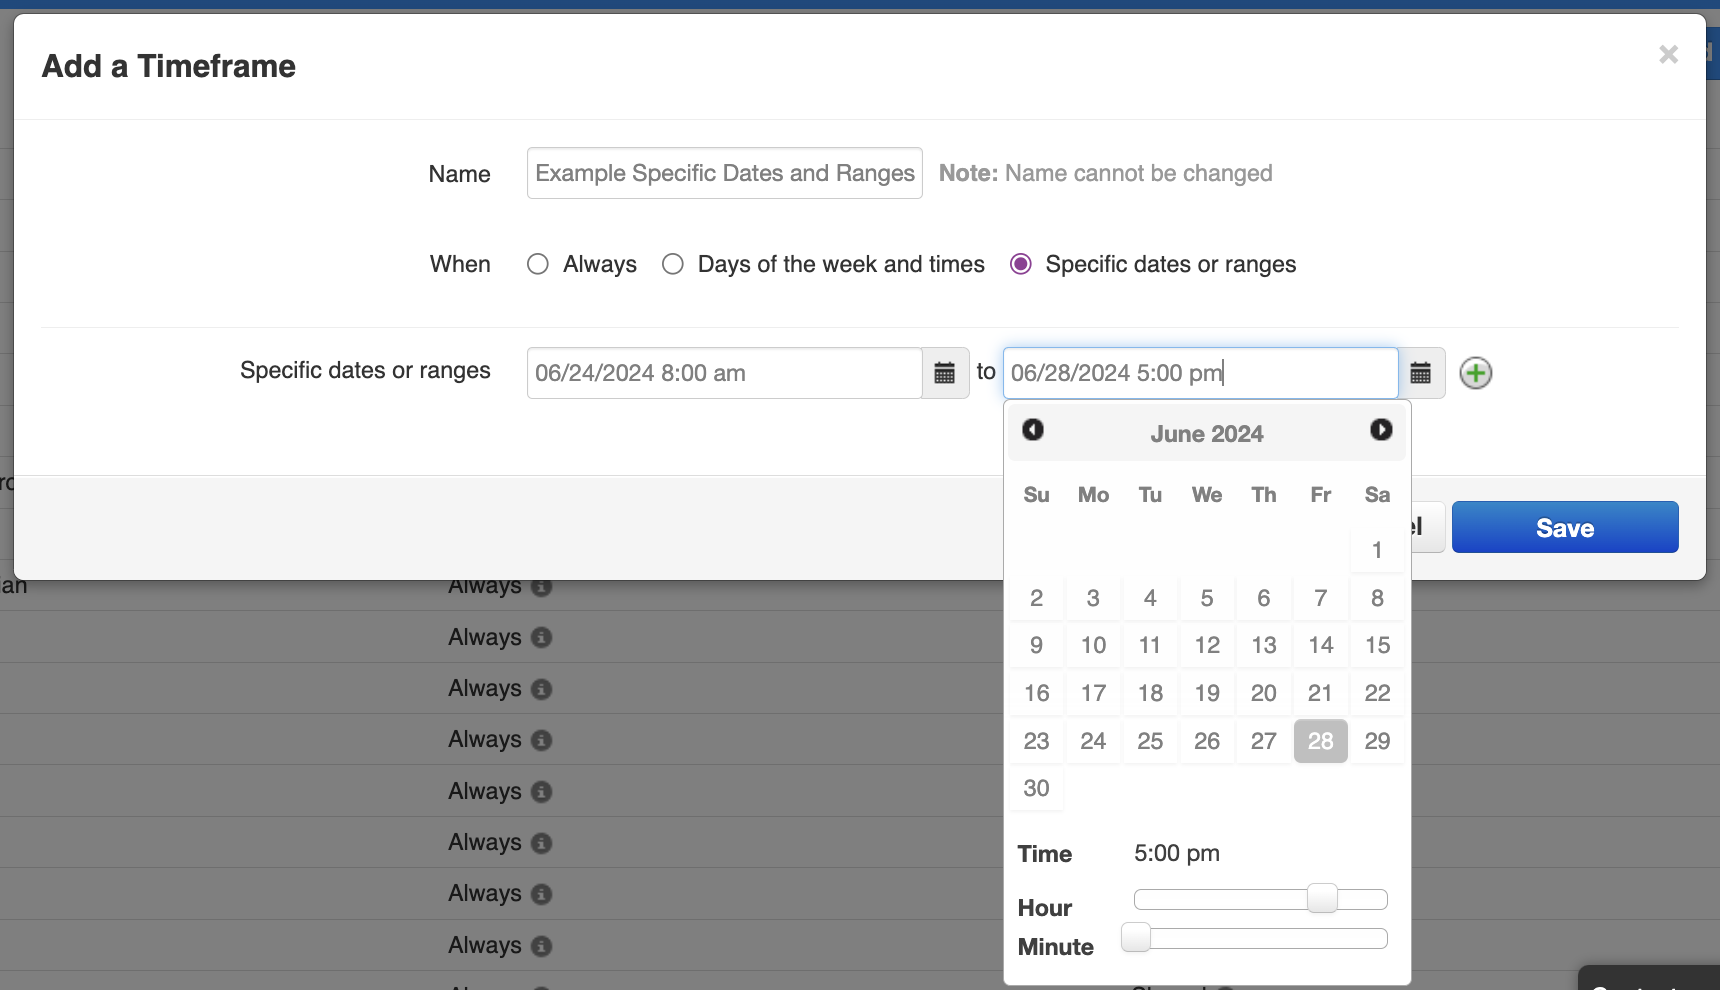
For Specific Dates and Ranges
Select Specific days or ranges whenever you need a special behavior for full days such as holidays or sick leave.
- Click the calendar icon
 and select your time frame's start and end dates.
 - If you wish to add multiple start and end dates, click the green plus icon on the right side.
- Click the Save button.
Create an Out-of-Office Answering Rule
Once your time frame is ready to go you're ready to set your answering rule.
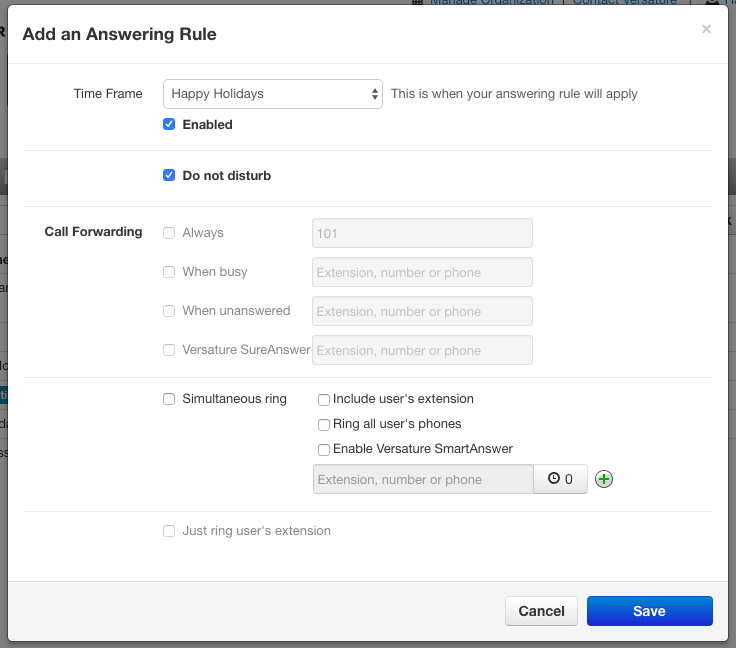
- Navigate to the Answering Rules tab of your Sonar portal.
- Click the name of the answering rule you want to edit, or click Add Rule on the right side.
- Choose the answering rules you want for your time away. The example below displays Do not Disturb enabled, so calls will be sent to voicemail. Notice how if you have Do not Disturb enabled, you cannot also click any of the other options.
Update your Voicemail
It's always a good idea to have an out-of-office voicemail at hand in case you need it. If you know in advance you're going away for a holiday or vacation, you can let people know when you'll be back. Since you are not limited to the number of voicemail greetings you can keep on file, we also recommend a generic OOO greeting for those last-minute sick days.
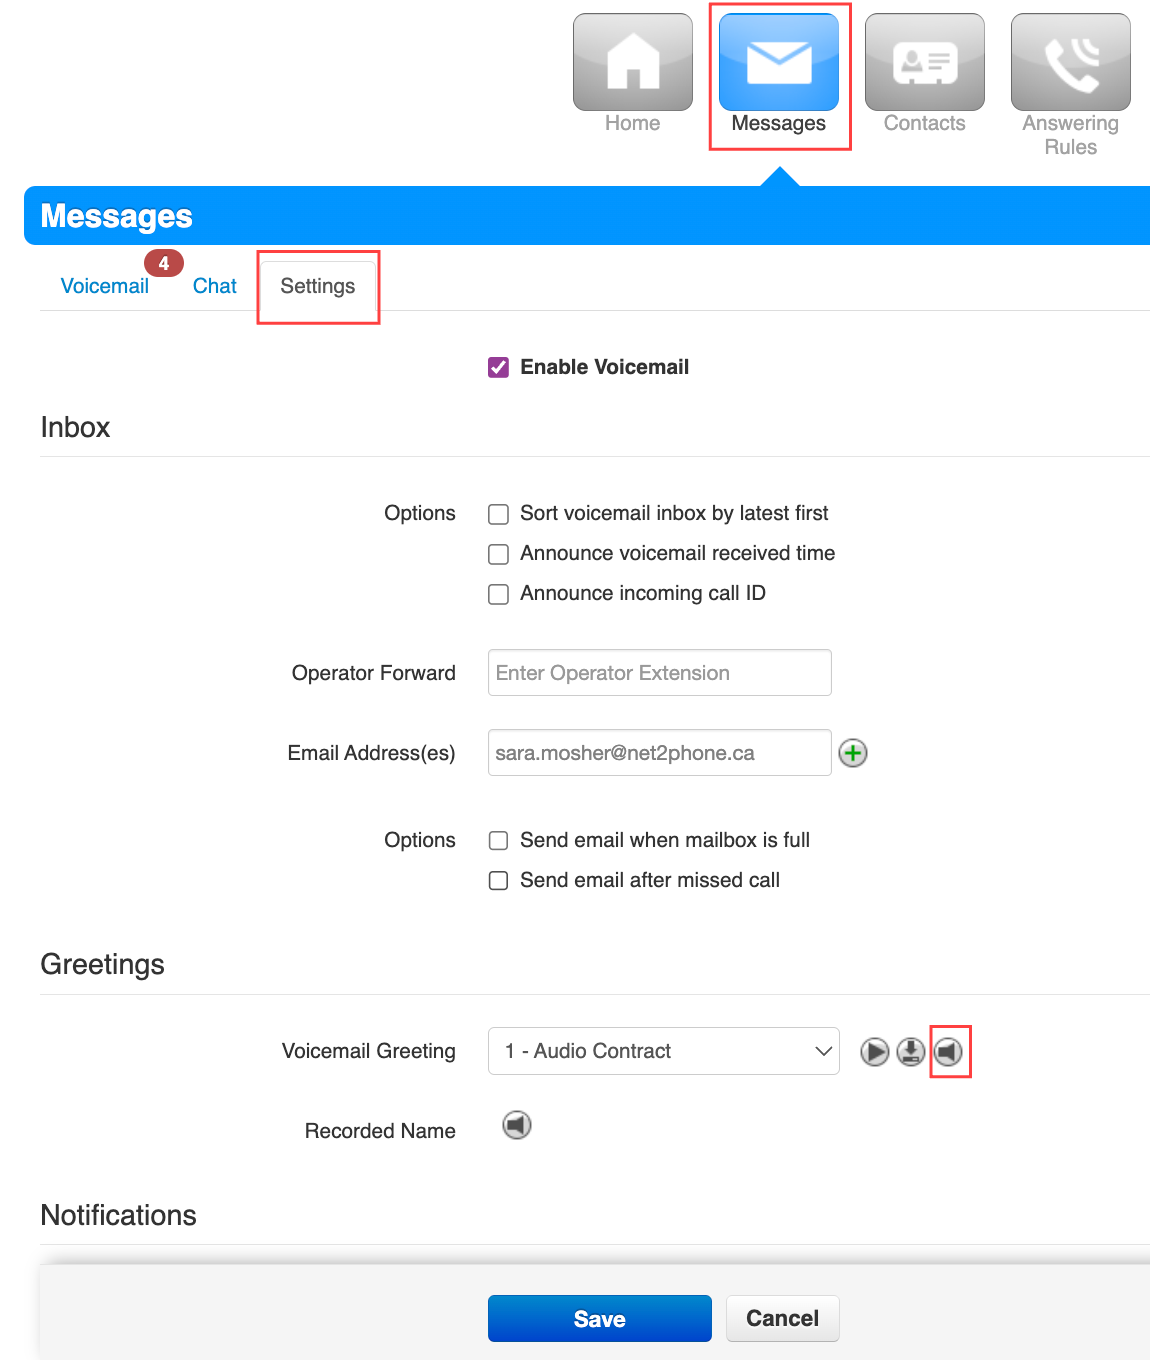
- Navigate to the Messages tab of your Sonar portal.
- Click the Settings at the top.
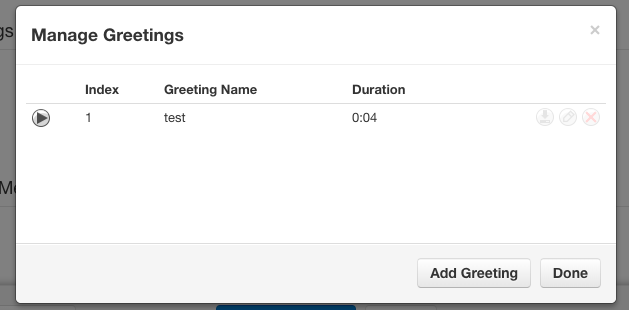
- Under "Greetings" click the speaker icon to "Manage" your greetings.
- In the pop-up window that appears, click Add Greeting at the bottom.
- You can create a voicemail greeting in three ways:
- upload an existing .wav or .mp3 file,
- record a new greeting, and,
- use text-to-speech to generate a voicemail greeting.
Uploads must be in .wav or .mp3 file formats. If you want to record your message on a non-Net2phone Canada device, you must enter a 10-digit number without dashes, spaces, or brackets.
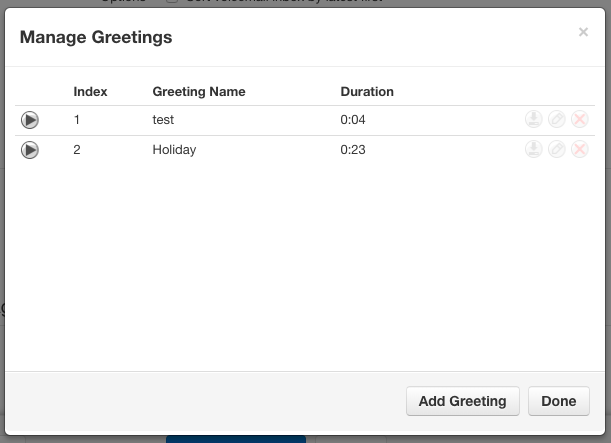
Once your upload or recording is properly saved, you will be brought back to the previous pop-up window, and you will see your new greeting in the list.
6. Click Done to save.
Activate your voicemail greeting!
If you want to activate your new greeting, in the Messages, Settings section, under Greetings, click the drop-down menu and select your new greeting.
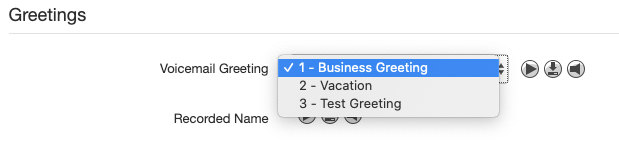
Always remember to Save at the bottom of the Messages tab before exiting the page!

