The net2phone Canada webphone, SONAR phone, allows you to conduct business calls through a secure web-browser; we recommend Google Chrome.
Use a Chrome web browser!
Are your phone accessories or internet connection causing trouble?
For the best connection, please use a Chrome web browser.
You can use this article to help identify common call quality issues.
CHROME NOTIFICATIONS
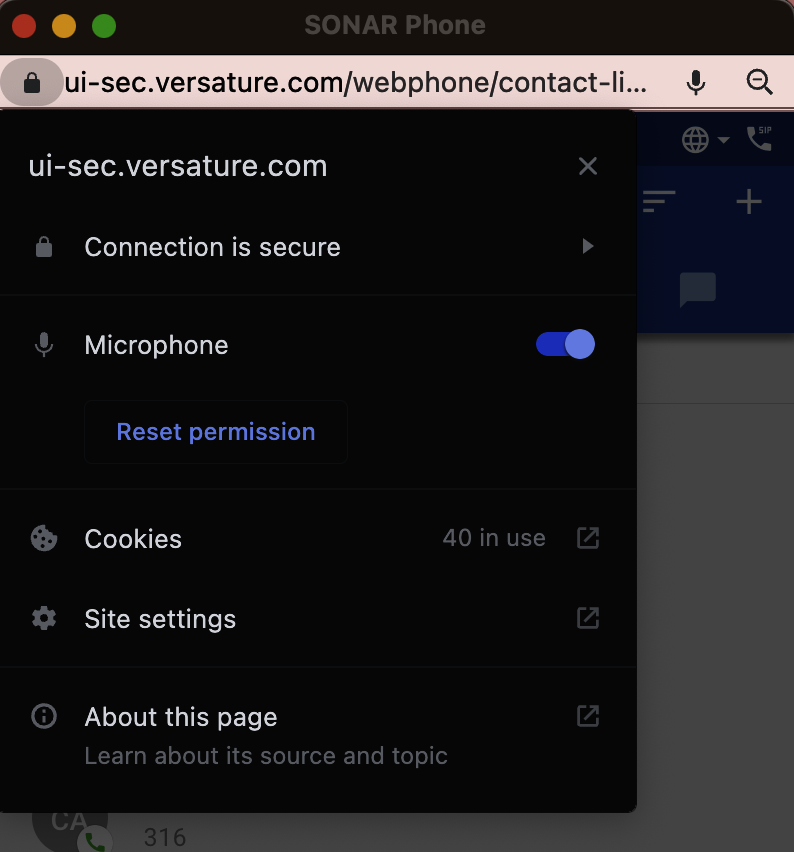
Ensure you always get an incoming call notification! From your browser, click the lock button next to the URL; this should open a settings menu. Review the settings for notifications within your browser. If this doesn't help, check your settings for notification permissions in your operating system, either Mac or Windows. For more information on Chrome settings, check out these detailed instructions.
Ensure Do Not Disturb (DND) is off on MacOS.
CALL CENTER STATUS
As a call center agent, you may have an issue with your online webphone status. After you log into the SONAR client portal,
- Click the SONAR Phone hyperlink at the top of the page.
- Click Go Online.
- Open a different tab within the SONAR phone tab, like Call History or Voicemail; this may trigger SONAR phone, to go offline.
- If this happens, go back to the main SONAR page, and within the Call Center tab change your status to Single Call," or "Lunch" then choose online, this will get it to sync with SONAR Phones status.
Prevent this from happening
Launch SONAR Phone when you are "Offline" in SONAR. If you are online in SONAR, launch SONAR Phone, and dial *51 to log in to your queues and it will set you to online.
MY PHONE IS UNREGISTERED
SONAR Portal
The SONAR portal is still linked to old Versature branding.
There are a couple of tricks that help solve this issue.
- Log out of SONAR and reboot Chrome.
- Use Google Chrome and give all the required permissions
- Try using SONAR phone with the Chrome Incognito mode.
- Try a different computer.
- Clear the Versature data on your Chrome browser settings.
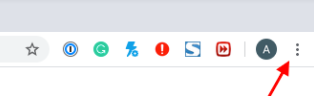
- Select the 3 dots of the top right corner.
- Click Settings.
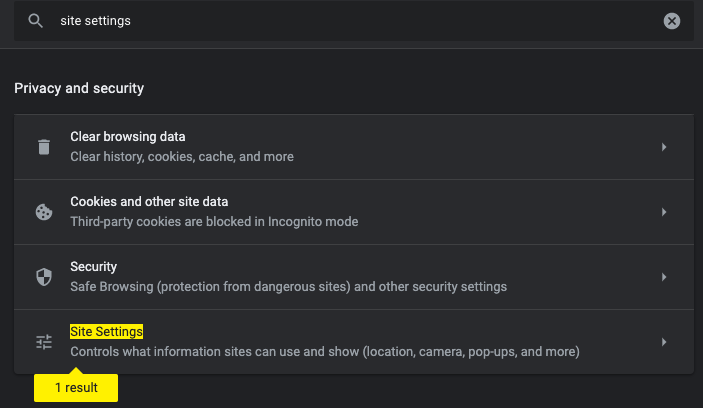
- On the search bar (search settings), type in ”site settings.”
- Select the “site settings” from the results.
- Select “View permissions and data stored across sites”.
- On the “search” bar in front of “All sites”, type in “Versature.”
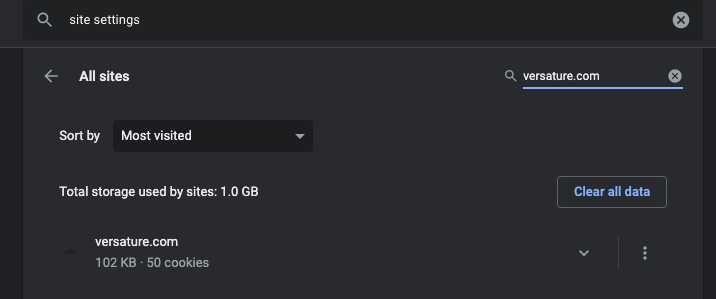
- Click the 3 dots on the “versature.com” result
- Click Clear data and confirm.
- Log out and log into your SONAR account.
| NOTE: The client portal is still under "Versature." |
I'M NOT RECEIVING QUEUE CALLS
"YOU HAVE NO QUEUES" error may appear for call center agents if their webphone (wp) device is not connected to a queue.
If you are a call center agent or call center supervisor, you may get an error message within your v42 SONAR portal if you are using SONAR Phone without your "wp" device in the queue.
You can identify your webphone device extension by the "wp" acronym.
Learn how to add mobile and softphone numbers to call queues.
AUDIO OUTPUT
If you are having trouble with your audio output, it may be your microphone settings. If your desktop lacks microphone capabilities, you will need an external microphone for proper audio.
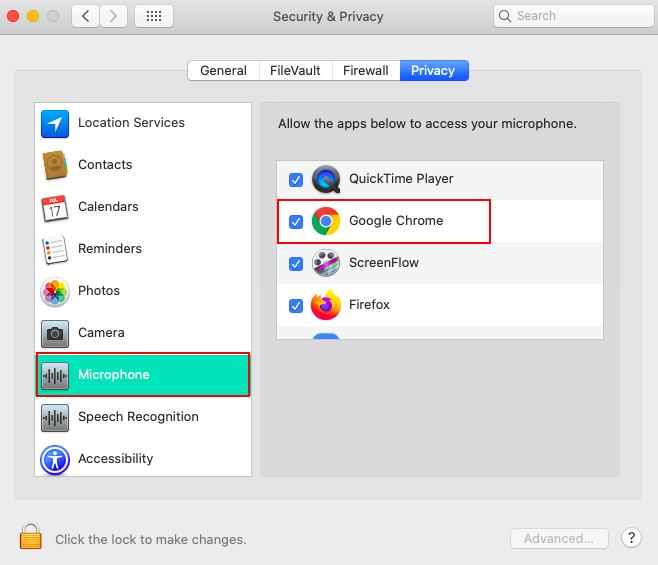
MAC MICROPHONE
Ensure chrome has permission to access your mac microphone.
1. Open your Apple menu and search for System Preferences.
2. Click Security & Privacy,
3. Click Privacy.
4. Select Microphone on the left side.
5. Select the checkbox next to Chrome to allow access to the microphone.

WINDOWS 10
Refer to the information below if you are using a Windows 10 operating system.
HOW TO ACCESS YOUR MICROPHONES IN WINDOWS 10
1. Open the Control Panel and select Hardware and Sound
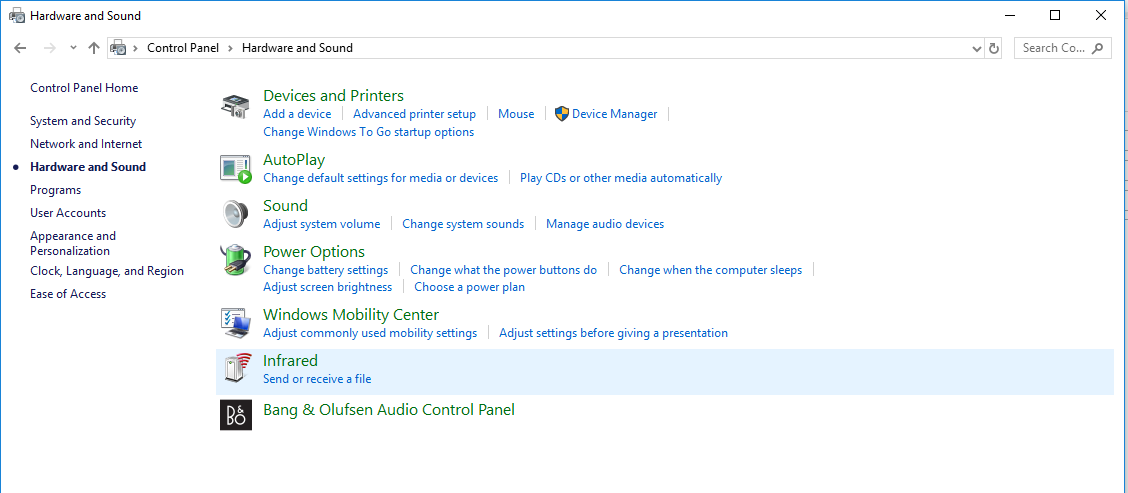
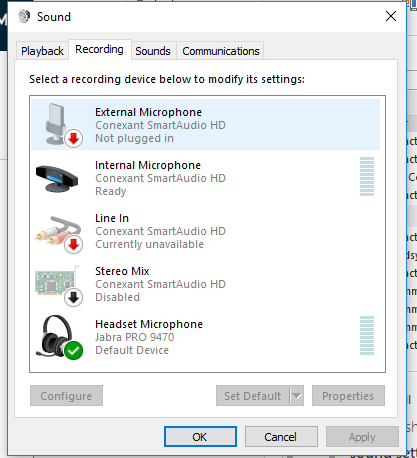
2. Open Sound.
3. Click the Recording tab.
4. Right-click on the microphone you want to enable.
5. Click Ok.
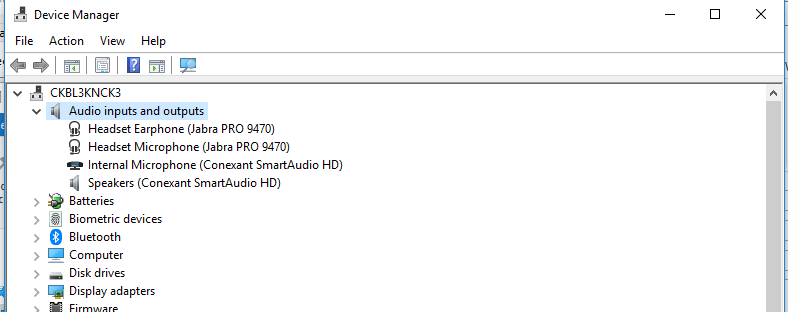
Alternatively,
1. Hold down the Window's home key.
2. Search for Device Manager.
3. Right-click on the microphone you want to enable.
TO SET A SPECIFIC MICROPHONE AS YOUR DEFAULT
If you have multi-microphone options (i.e., internal laptop and external) you can select which the system will use as its default.
Open Settings.
Click on System.
Click on Sound.
Under the Input section, use the drop-down menu to select the microphone that you want to use.
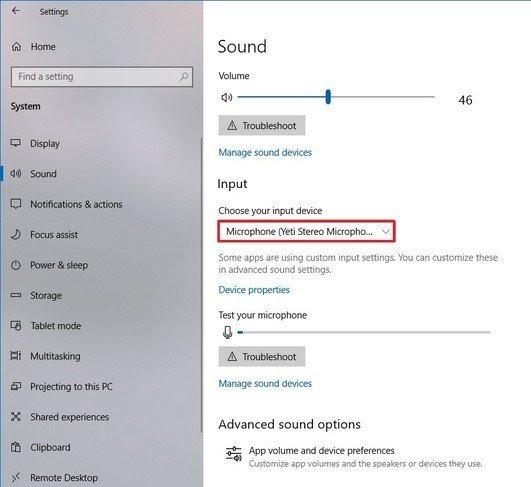
Note
If at any point the desired microphone is not available, it simply means the Microphone is faulty or simply not installed.
OLDER VERSIONS OF WINDOWS
1. On the desktop or the Start Menu, right-click on My Computer.
2. Select System Properties.
3. Click the Hardware tab.
4. Click the Device Manager button.
5. Under Audio inputs and outputs, you should see all microphones installed. Right-click on the desired microphone to enable it.
