Time Frames are the foundation of call-answering customization. When used in conjunction with Answering Rules, you can choose how your phones are answered based on a specific date range, day, and time.
The Default Time Frame
The default time frame (after hours) will be active whenever you do not have a time frame in place. The times that are left unselected will default to your organization's after-hours time frame. In the example above, the default time frame is activated for an extended lunch on Monday and Tuesday.
How to Create a New Time Frame
Office Managers and Call Center Supervisors must be in My Account to access the Time Frames tab.
Time Frame Names
You cannot edit a Time Frame's name after the initial creation. Aim to name your time frames something intuitive and recognizable, so you can easily retrieve them when creating call forwarding flows in the Answering Rules section.
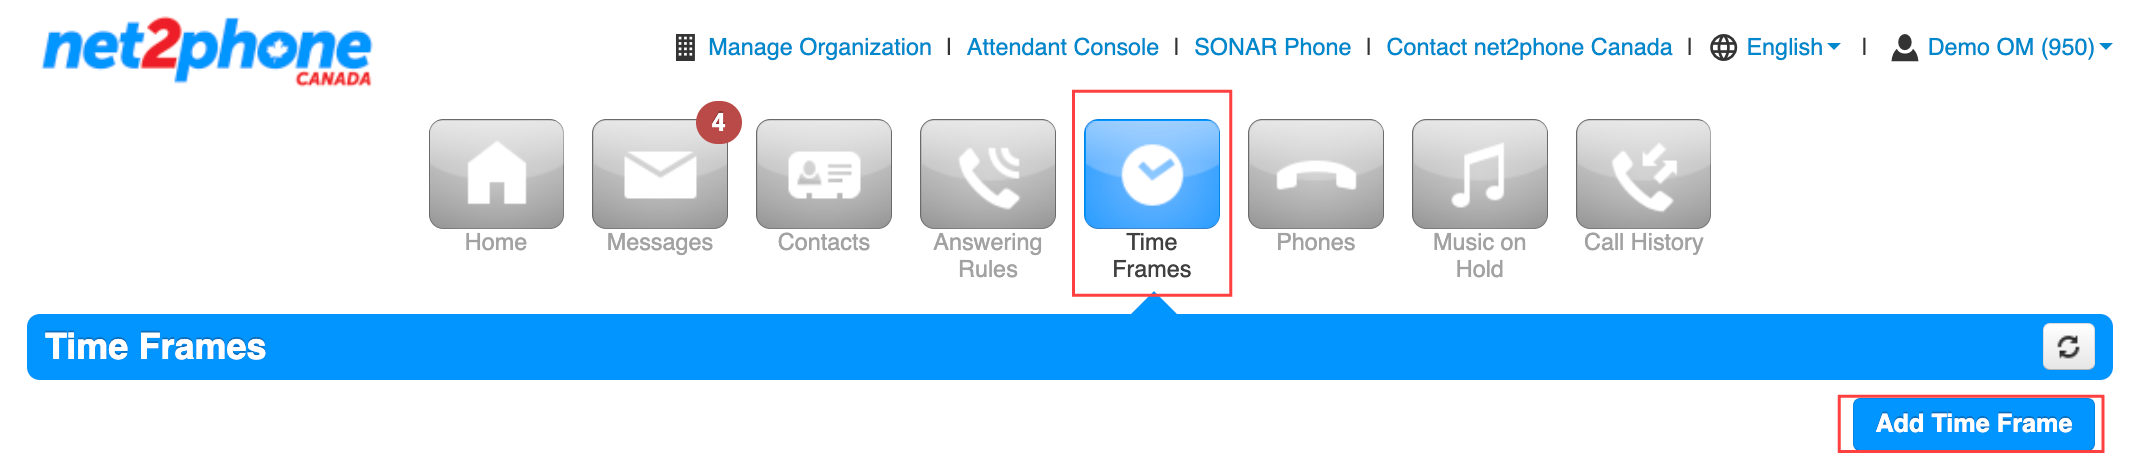
- Click the Time Frames tab in your Sonar portal.
- Click Add Time Frame in the right corner.
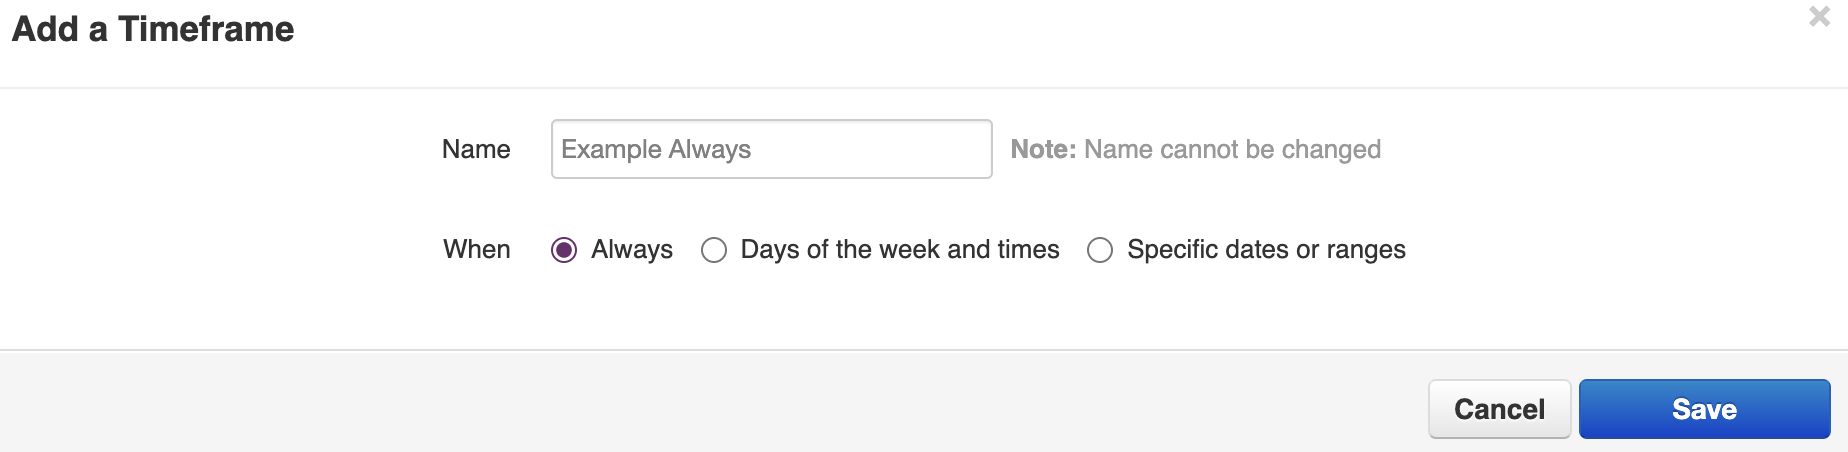
- Name your new time frame so you can find it in the future.
- Select the type of time frame you want to set.
- Follow the instructions below to set your specifics for one of the following Time Frame types:
- Always – can serve as a catch-all when no other time frame applies.
- Days of the week – create a weekly schedule with start and end times.
- Specific dates – add specific dates with optional recurrence.
- Holidays – choose from a selection of recognized local and international holidays.
- Custom – create a custom time frame that combines days of the week, specific dates, and holidays together.
Always
Select Always whenever you need an action performed for an indefinite amount of time.
- Click the Always radio button.
- Click Save.
Days of the Week
Select Days of the Week whenever you need to create a repeatable weekly schedule. In the example below, we are adding a 9:00 am - 5:00 pm, Monday-Friday schedule, with a lunch break from 12:30 pm - 1:00 pm. Whenever there is no time frame in place, your default time frame is automatically enabled by the Sonar system.
- Click the Days of the Week radio button.
- Click Next.
- Use the checkboxes to select the days of the week you want to apply your Time Frame.

- Add the first time block (before lunch) for 9:00 am - 12:30 pm with the drop-down menus.
- Click the green plus icon to add another time block for the day.
- Add the second time block (after lunch) for 1:00 pm - 5:00 pm with the drop-down menus.
- Click “copy-to-all” to apply these time blocks to all the days of the week you have selected.
- (Optional) Set the Time Frame to a customized range of dates.
- Click Save.

Specific Dates
Select Specific days whenever you need a unique setting for a multi-day time period. In the example below, we are adding a Time Frame for a week of personal vacation.
- Click the Specific Dates radio button.
- Click Next.
- Click the calendar drop-downs to enter your date range, which can be specified to the minute of the day.
- (Optional) Choose to have this Time Frame reoccur.
- Click the Save button.

Holidays
Select Holidays to choose from a selection of recognized local and international holidays. In the example below, we will add a Christmas Day Holiday Time Frame for the entire day of December 25, 2025.
- Click the Holidays radio button.
- Click Next.
- (Optional) Filter Holidays by Country or holiday type, or use the search bar.
- Select a Holiday from the drop-down menu.
- Review the holiday's start and stop time.
- Click Next.
- (Optional) Create specific Observed Holiday rules for a statutory Holiday that falls on a weekend, or has other specific time requirements.
- Click Save.

Custom
Select Custom to create a custom time frame that combines days of the week, specific dates, and holidays together.

Time Frame Pro Tips!
Remember, creating a time frame is only half the battle—don’t forget to create a Sonar Answering Rules afterward that makes use of your time frame.
Never miss a call by redirecting calls to your mobile phone in case you have an internet outage using net2phone Canada SureAnswer, or get the net2phone Canada iOS mobile app.
Forwarding calls from the office to a personal number? Utilize net2phone Canada SmartAnswer to remove the hazard of mis-answering.
Have a holiday coming up? Use your new time frame with an Answering Rule to send calls straight to voicemail and record a greeting informing callers you’re away.
Set a time frame to have all calls go straight to voicemails when you leave for the day.
Learn how to adjust the amount of rings on your phone before timeout.
