The net2phone Canada webphone, Sonar Phone, allows you to conduct business calls through a secure web browser. We recommend Google ChromeTM.
Why Use Google Chrome?
Using Chrome ensures the best connection quality for your calls. If you experience issues with call quality, this article will help you troubleshoot common problems related to your phone accessories or internet connection. Check out our Ultimate Guide to Troubleshooting VoIP Call Quality.
Grant Permissions
When opening the app, you must grant Sonar permission to receive inbound calls and access your microphone. The permissions may appear as a popup on your browser, if not, follow the steps below.
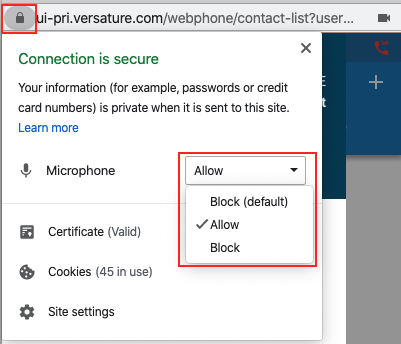
- Click the lock icon in the top left corner of the pop-up.
- From the drop-down menu next to "Microphone," ensure your microphone is set to "Allow."
Adjust your Microphone Settings
You can check which microphone the app uses by clicking the video icon at the top right corner and viewing the audio input.
Enable Chrome Notifications
To ensure you never miss an incoming call, you need to enable notifications in Chrome:
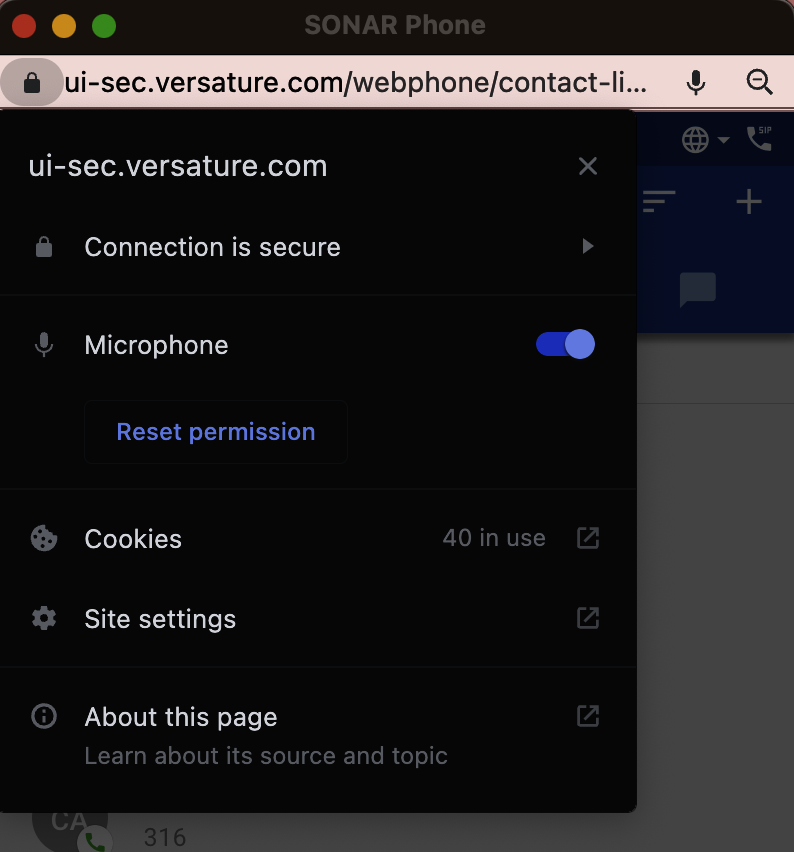
- Click the lock icon next to the URL in your Chrome browser.
- Adjust the notification settings as needed.
- If issues persist, check your system’s notification settings on either Mac or Windows.
- (MacOS) Ensure Do Not Disturb (DND) is off.
For more detailed instructions, refer to Chrome’s official guide.
Sonar Phone Unregistered
There are a couple of tricks that help solve this issue.
- Log out of Sonar and reboot Chrome.
- Use Google Chrome and give all the required permissions
- Try using Sonar Phone in Chrome Incognito mode.
- Try a different computer.
- Clear your cookies and cache.
- To delete the (old branding) Versature data on your Chrome browser settings, follow the steps below:
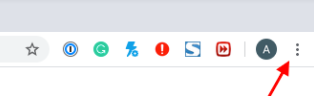
- Select the 3 dots of the top right corner.
- Click Settings.
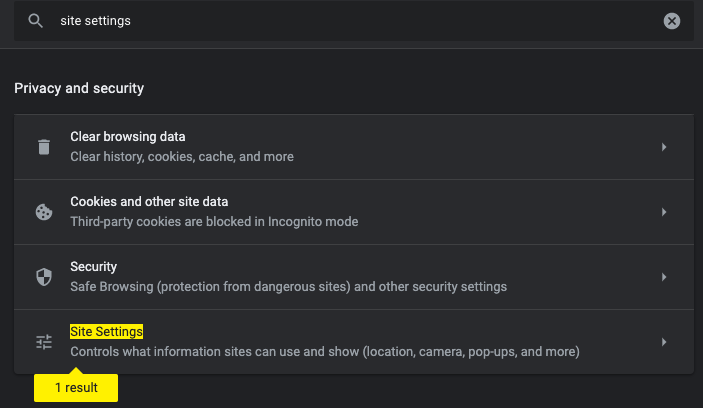
- On the search bar (search settings), type in ”site settings.”
- Select the “site settings” from the results.
- Select “View permissions and data stored across sites”.
- On the “search” bar in front of “All sites”, type in “Versature.”
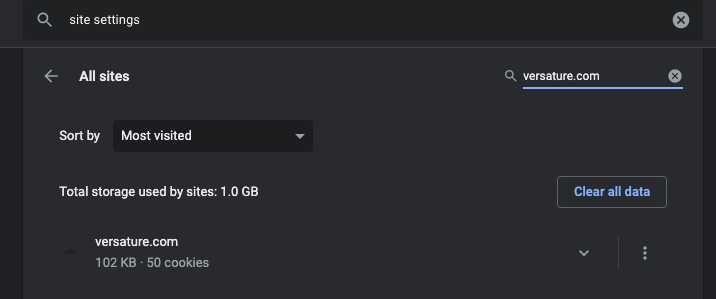
- Click the 3 dots on the “versature.com” result.
The client portal is still under old “Versature” branding. - Click Clear data and confirm.
- Log out and log into your SONAR account.
Not Receiving Queue Calls? Check your Call Center Status!
As a call center agent, you may have an issue with your online web-phone status. After you log in to the Sonar client portal,
- Click the Sonar Phone hyperlink at the top of the page.
- Click Go Online.
Open a different tab within the Sonar phone tab, such as Call History or Voicemail; this may trigger the Sonar phone to go offline.
If this causes you to go offline: - Return to the Sonar portal, and within the Call Center tab, change your status to Single Call or Lunch.
- Change your status back to Online, which should sync the portal with your Sonar Phones status.
Sync Upon Sonar Phone Launch with *51
To ensure proper sync, launch Sonar Phone while you are set to Offline, open SONAR Phone and dial *51 to log in to all your queues, which will automatically change your status to Online.
Not Receiving Queue Calls?
If you receive a "YOU HAVE NO QUEUES" error, your webphone (wp) device might not be connected to a queue. Call center agents and supervisors should ensure their "wp" device is properly linked to their queues in the v42 SONAR portal.
Tip: You can identify your webphone device extension by the "wp" acronym. For more details, learn how to add mobile and softphone numbers to call queues.
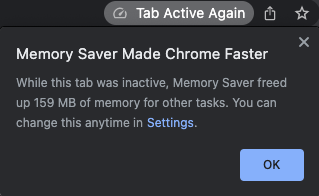
Google Chrome Memory Saver
When using Google Chrome with the Sonar Phone, the "Memory Saver" feature (disabled by default) may occasionally re-enable on some devices. If Chrome detects high memory usage and attempts to optimize performance, this can lead to dropped calls. If you're facing this issue, follow the steps below for Chrome Edge browsers.
What is Google Memory Saver?
Google is gradually introducing two new performance settings—"Memory Saver" and "Energy Saver"—designed to reduce Chrome's memory usage by up to 40% when resources are low. However, when these settings are enabled, they can cause calls to drop as Chrome tries to conserve memory.
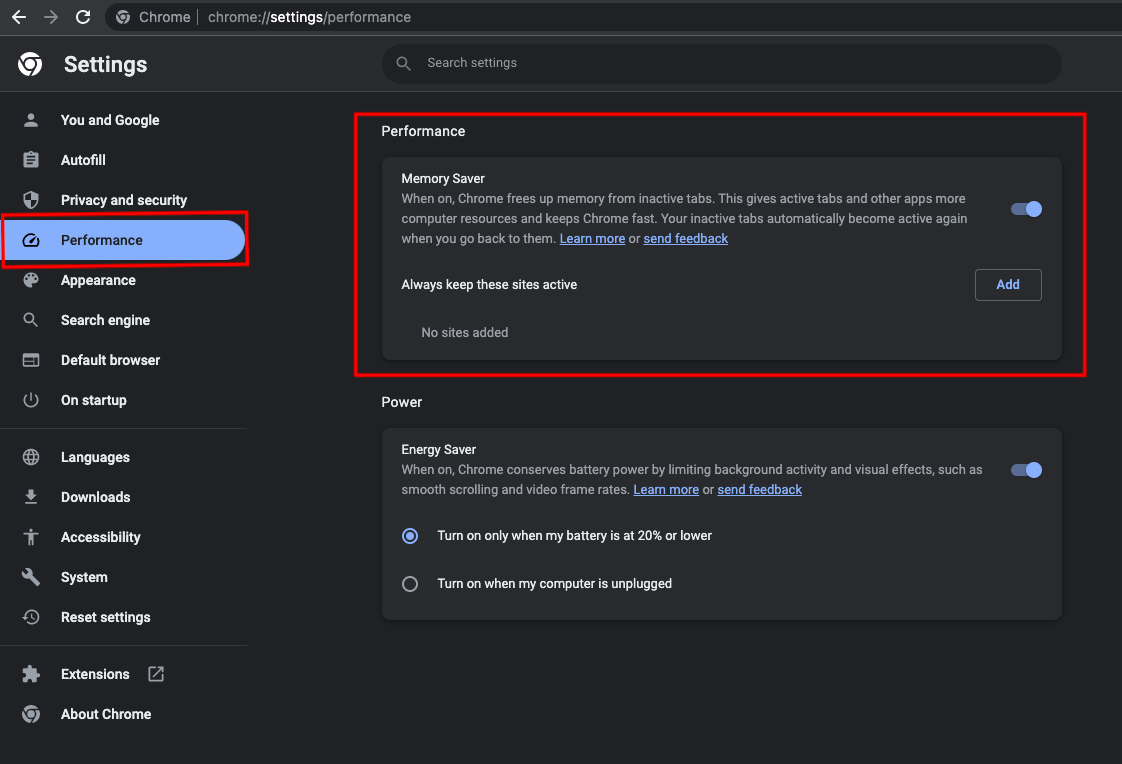
To determine if you have this setting enabled,
- Navigate to your Chrome Settings.
- Click the Performance Tab.
- Disable the Memory and Energy Saver options.
If you do not see the Performance tab, you have not yet been included in the release.
Learn more from Google Chrome Support.
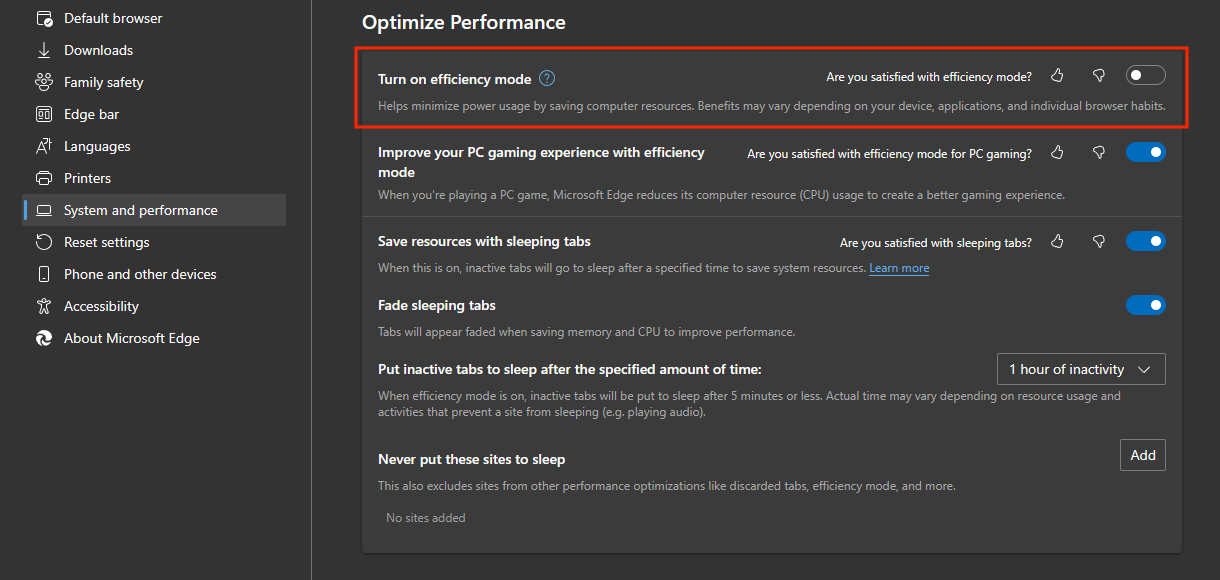
Microsoft Edge: Efficiency Mode
When using Microsoft Edge with the Sonar Phone, you should disable the Turn on efficiency mode option.
- Go to your Edge Browser Settings.
- Search for Optimize Performance or navigate to the Save resources with Sleeping Tabs tab.
- Toggle the Turn on efficiency mode option to disabled.
Learn more from Microsoft Support!
Audio Output
If you are having trouble with your audio output, it may be your microphone settings. If your desktop lacks microphone capabilities, you will need an external microphone for proper audio.
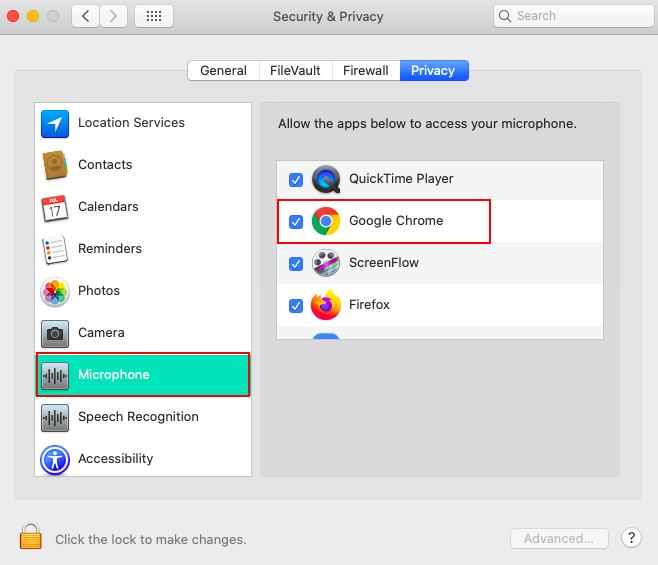
MacOS Microphone Settings
Ensure Chrome has permission to access your Mac microphone.
- Open your Apple menu and search for System Preferences.
- Click Security & Privacy.

- Click Privacy.
- Select Microphone on the left side.
- Select the checkbox next to Chrome to allow access to the microphone.
Windows 10 Microphone Settings
If you use the Windows 10 operating system, you can access your microphone settings by following the steps below.
- Open the Control Panel and select Hardware and Sound.
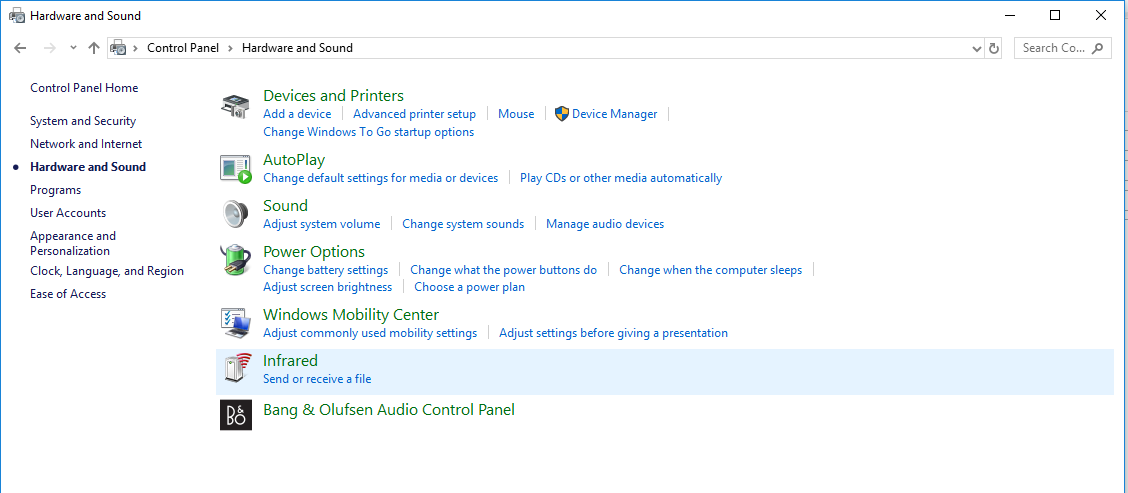
- Open the Control Panel and select Hardware and Sound.
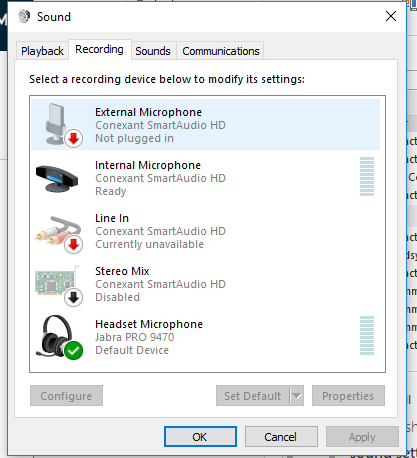
- Click Sound.
- Click Recording.
- Right-click the microphone you want to enable
- Click OK.
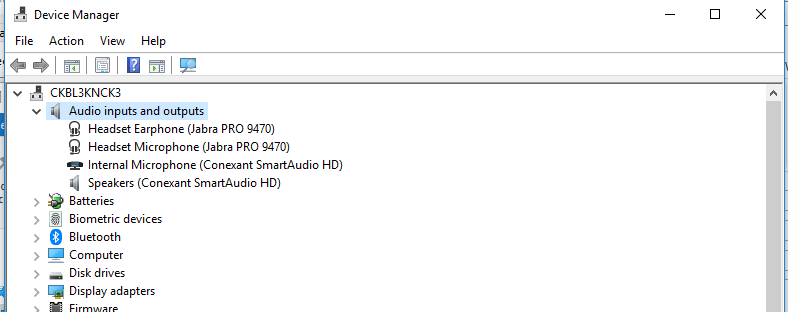
Alternatively, if you are using Windows 10 operating system, you can follow the steps below to access microphone settings:
- Hold down the Window's home key.
- Search for Device Manager.
- Right-click on the microphone you want to enable.
- Click OK.
Setting a Default Microphone on Windows 10
If you have multi-microphone options (i.e., internal laptop and external) you can select which the system will use as its default.
- Open Settings.
- Click on System.
- Click on Sound.
- Under the Input section, use the drop-down menu to select the microphone that you want to use.
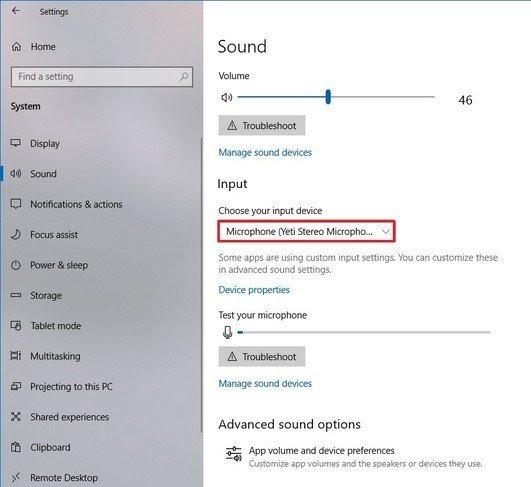
If the desired microphone isn’t listed, it may be faulty or not installed correctly.
Older Windows OS
Using an older Windows operating system, you can access your microphone settings by following the steps below.
- On the desktop or the Start Menu, right-click on My Computer.
- Select System Properties.
- Click the Hardware tab.
- Click the Device Manager button.
- Under Audio inputs and outputs, you should see all microphones installed.
- Right-click on the desired microphone to enable it.
Need Help? Reach out!
Sonar Phone troubleshooting can be frustrating; the net2phone Canada team is here to help!
